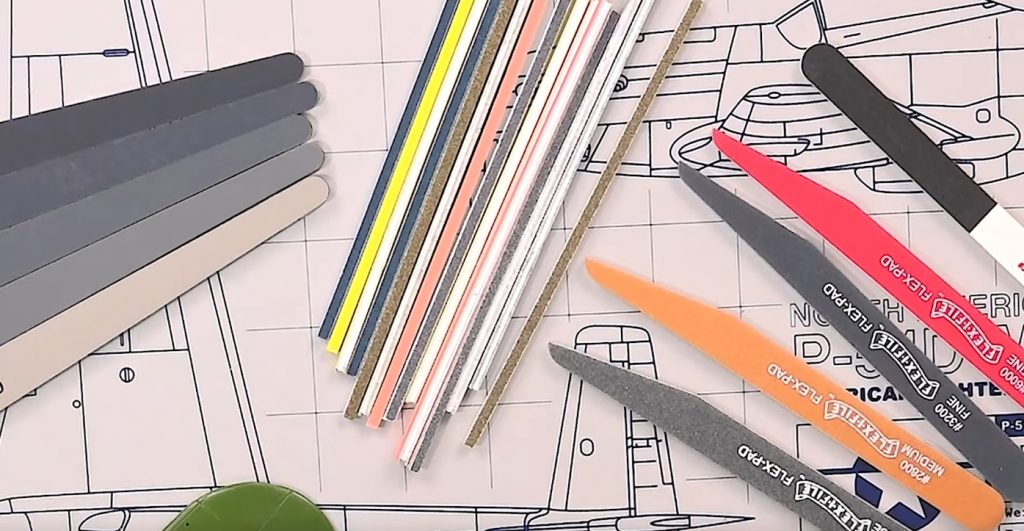
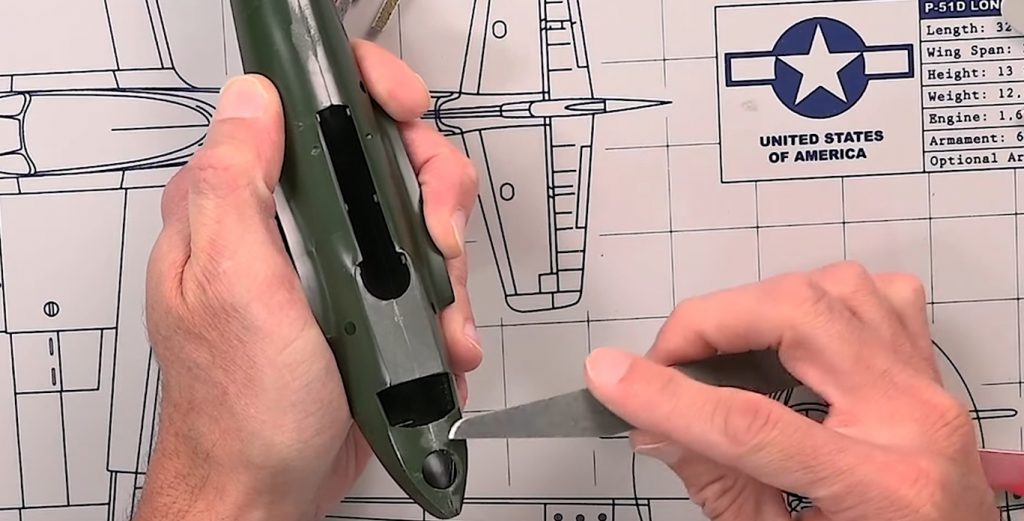
No matter what material you are using for your scale model (wood, metal, or plastic), you will need to use an abrasive product at some point. Abrasives can help remove rough edges, shape and prepare a model before painting or finishing, and are one of the most useful tools for any avid modeler. Like other key products such as glue and paint, different abrasives work better on different materials and situations. To make things easy, we’ve created this handy abrasives guide to help you master your scale model projects!
It’s all about grading.
Abrasives are a multifaceted bunch, with an array of classifications that set them apart from one another. To initiate your abrasion process, you must first understand the intricate nuances of abrasive grading. This concept refers to the size of the abrasive particles present on the back of your desired abrasive, the mighty warriors that will go on to wage war against the material at hand. The most widely recognized grades are extra fine, medium, coarse, and extra coarse, each with their own unique advantages and purposes. But wait, there’s more! Subgrades exist within each of these larger classifications, each with a particular degree of particle size and distribution, allowing you to fine-tune your abrasive selection to your specific needs.
But that’s not all! The nature of the abrasive particles’ proximity to one another on the back is also a key factor in classifying abrasives. Here, we encounter the open coat versus closed coat abrasives debate. Open coat abrasives have a looser configuration, with the abrasive particles more spaced out on the back, allowing for a smoother finish, ideal for use on smooth painted products. Closed coat abrasives, on the other hand, offer more tightly-packed grains, allowing for a more aggressive cut, well-suited to cutting quickly through tougher materials.
But let’s not forget about salt! While it may seem unrelated, the concept of grading also applies to salt. In this case, there are five common grades of salt: extra fine, fine, medium, coarse, and extra coarse. Each of these grades is used in different applications, with the degree of coarseness determining the suitability for a particular use case.

Most common abrasive types
- There are different types of sandpaper. The type that used to have sand in it is not used anymore. It is replaced by other materials, such as aluminum oxide and silicon carbide. Aluminum oxide is the most common and can be used on metal and wood. Silicon carbide is available in very coarse grades and is commonly used for wet applications.
- Garnet paper is a type of sandpaper that has a harder grit. This allows it to provide a finer finish. It can shape soft to hardwoods, such as balsa and plywood.
- Emery paper and cloth can be used to polish metals. It is strong and versatile, making it good for smoothing tight curves on metal.
- This product is perfect for both wet and dry work. It’s great for shaping plastic and wood and gives a finer finish when water is added. During wet use, you should periodically wipe away the slurry and dip the abrasive in water to remove any clogged material.
When smoothing a piece of wood, always sand in the same direction as the grain to avoid scratching.
Finishing a surface
Finishing is an important step when making a model. Suppose you make a historical model, like a famous warship or plane. In that case, you will want to use progressively finer grades of sandpaper to remove any unwanted blemishes, scratches, or marks. This will give you a smooth surface to add paint or varnish.
To smooth a piece of wood, always sand with the grain instead of across it. This will help avoid scratches, which might not be visible at first but might show up later when you paint the wood. If you plan to add clear varnish, dampen the wood first to make it easier to sand. Once it dries again, use your finest abrasive to finish sanding it.

Since plastic models have no grain, you can sand them in any direction you choose.
If you use an open-grain wood like balsa, we advise you to brush on a sealant to fill the grain first. Once it has soaked in and the wood is dry, sand the surface with your fine-grade abrasive. Follow these steps 1-2 more times, using finer abrasive each time to ensure an even, smooth finish.
Since plastic models do not have any grain, you can sand them in any direction you choose. Once you have removed any scratches or marks, use a liquid metal polish to achieve the best result.
Sanding blocks for flat surfaces
If you have a large, flat surface to sand, it is often more effective to use a sanding block. This will make the job go faster and help you avoid creating hollows on the surface from finger sanding. Choose an abrasive in the desired grade, wrap it around a block of wood, and then carry on as normal. Note: when sanding to the edge of your surface, keep the sanding block, so you don’t round off the sharp edges.
Sanding small objects
Sometimes, when sanding a model, there will be small pieces too delicate to use the sandpaper on. In this case, you can use your finger to wet the piece’s surface and then move it across the sandpaper smoothly. Using this method on plastic pieces, use wet-and-dry paper with water.
FAQs
Can I go from 80 grit to 220 grit?
Yes, you can go from 80 grit to 220 grit. Moving from a courser grit to a finer grit will give you a smoother finish.
What is 220 grit sandpaper used for?
220 grit is a medium-coarse grit meant for woodworking and metalworking. It’s the most common type of sandpaper and can be used for stripping away old paint or varnish and creating a smooth surface.
What is 2000 grit sandpaper used for?
2000 grit sandpaper grains of sand down wood or metal to create a smooth surface.
What direction should you sand?
In the direction of the wood grain. This will help keep the wood looking uniform and minimize sanding marks.
What is 800 grit sandpaper used for?
800 grit sandpaper is usually used for finishing wood. It has a finer grit than most other sandpaper, leaving a smooth surface.
What is 7000 grit sandpaper used for?
7000 grit sandpaper is used as finishing sandpaper. It’s the last step in the sanding process before you start to polish your piece of wood.
What is 5000 grit sandpaper used for?
5000 grit sandpaper is used for a final polish on woodworking projects. The higher the grit number, the finer the sandpaper.
What is 2500 grit sandpaper used for?
2500 grit sandpaper is used for fine polishing work, such as finishing wood or metal surfaces. It produces a very smooth finish and is less likely to leave scratches than lower-grit sandpapers.
Can you clear over 600 grit?
Yes, you can clear over 600 grit. In fact, if you’re looking to get your knife really sharp, you’ll want to go beyond that. The highest achievable grit on a sharpening stone is around 10,000, but most people will never need to go that high. A good quality knife can be brought up to a razor-sharp edge with just a few passes on a 400-grit stone.
What does K mean on sandpaper?
K is the symbol for grit size. The smaller the number, the finer the grit. For example, 220-grit sandpaper has a finer grit than 100-grit sandpaper.
Which sandpaper is smoothest?
Abrasive papers are graded by the size of the abrasive particles they contain. Coarser grades have larger particles and are used for rougher work, such as sanding wood, while finer grades have smaller particles and are used for more delicate work, such as polishing metals. Of all the abrasive papers on the market, those graded 220 are considered the smoothest.
What does 10000 grit sandpaper do?
10000 grit sandpaper is fine and is used for final sanding before you start painting or staining your project. It will help to remove any remaining imperfections and give you a smooth surface to work with.
Can I go from 36 grit to 80 grit?
Yes, you can go from 36 grit to 80 grit. However, doing so is not recommended because it will wear down your sanding block more quickly. It’s better to use a grit that’s appropriate for the job at hand.