Are you ready to transcend your current level of model painting proficiency? Perhaps you yearn for a more refined, polished outcome for your miniature masterpieces. Consider the transformative potential of airbrushing, an artful technique that can imbue your models with a sleek, professional finish. Distinguished experts in the field unanimously hail the airbrush as an indispensable investment and a vital implement for grand-scale projects. But, heed this cautionary caveat: airbrushing is not an endeavor for the faint of heart, for it is a skill that must be mastered through diligent effort and extensive practice. So, prepare to expand your skillset and elevate your craft to new heights, as we unveil a comprehensive compendium of model airbrushing techniques designed to unleash the full potential of your airbrush.
What is an airbrush?
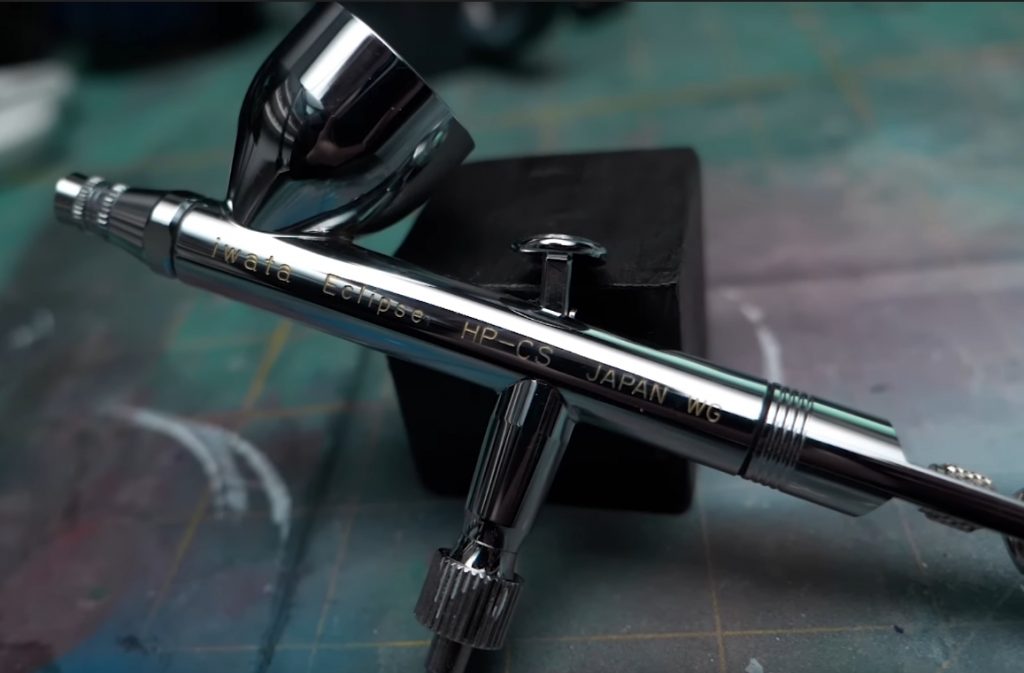
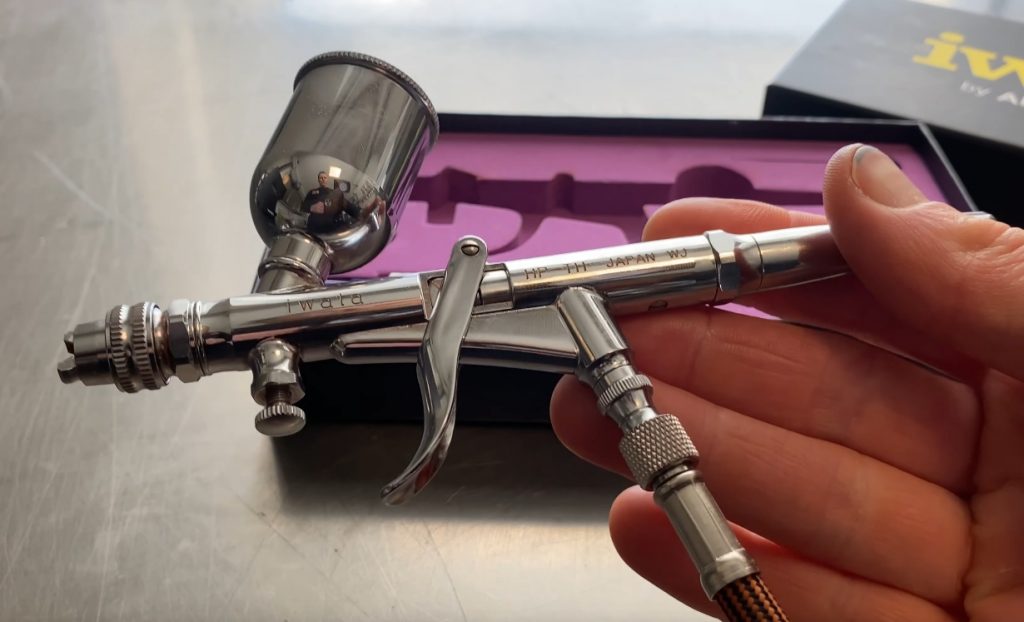
The airbrush, an instrument that merges paint and air in a harmonious union, is a piece of machinery that is used to atomize and dispense paint, allowing for more precise and consistent coverage on a variety of surfaces. When the button is depressed, a gust of air is released, which then traverses the nozzle and delivers the paint onto the desired model. The result is a flawless finish that is second to none in quality and finesse.
By slightly manipulating the air or paint supply, the airbrush’s capabilities can be finely tuned and customized to create an array of stunning visual effects that will leave your viewers enraptured with awe and admiration. As an added bonus, changing the paint needle can introduce an exciting new dimension of unpredictability and versatility to the paint spray patterns that you create.
This dynamic and powerful tool is an invaluable asset for any creative mind, providing endless possibilities for artistic expression and innovation. It is available in two distinct types: the single-action and dual-action airbrushes. These devices offer unparalleled flexibility and precision, allowing you to explore and push the boundaries of your creative limits to their fullest potential.
Single-action airbrushes
Behold, the illustrious and widely sought-after single-action airbrush – the paragon of artistic expression. Its simplicity is matched only by its unparalleled popularity. With but a mere press of a button, a gust of airflow shall be unleashed, and with a gentle turn of a separate control, your paint pattern shall be customized to your liking. A constant, unwavering stream of paint flows with ease, affording the artist unencumbered control over the elusive air supply.
And yet, dear reader, let it be known that the single-action airbrush is not merely a tool for the uninitiated. Nay, for the adept and daring, the paint supply can be deftly adjusted with a free hand while still in the throes of artistic fervor. Such a feat may seem a daunting prospect to the unseasoned hand, but for the masterful artisan, the rewards are nothing short of awe-inspiring. For it is through the mastery of such techniques that one may attain the pinnacle of finesse and precision, the likes of which are the hallmark of a single-action airbrush wielded by a true virtuoso.
- Pros: The vacuum cleaner is relatively cheap, easy to clean, and covers a lot of space. It has fewer parts than other cleaners, making it simpler and less likely to break.
- Cons: You have less control over what happens, and it can be harder to make changes.
Dual-action airbrushes
For those seeking greater dominion over their artistic creations, consider acquiring a dual-action airbrush. Such a wondrous tool permits the wielder to manipulate both the air and paint flow by the application of the trigger. Utilizing the dual-action airbrush involves first depressing the trigger to initiate the flow of air, and subsequently retracting it to effectuate the dispersal of paint. It must be noted that these instruments of excellence tend to command a premium price; however, their versatile nature more than justifies the added expense. Once mastered, the dual-action airbrush shall be indispensable in the creation of all future masterpieces. The meager artist will forevermore be compelled to relinquish their claim to utilizing a mere single-action airbrush.
- Pros: Incredibly versatile, you can create finer lines with increased control.
- Cons: It costs more to use a complex machine. It also takes more practice to learn how to use it well.
How to hold an airbrush
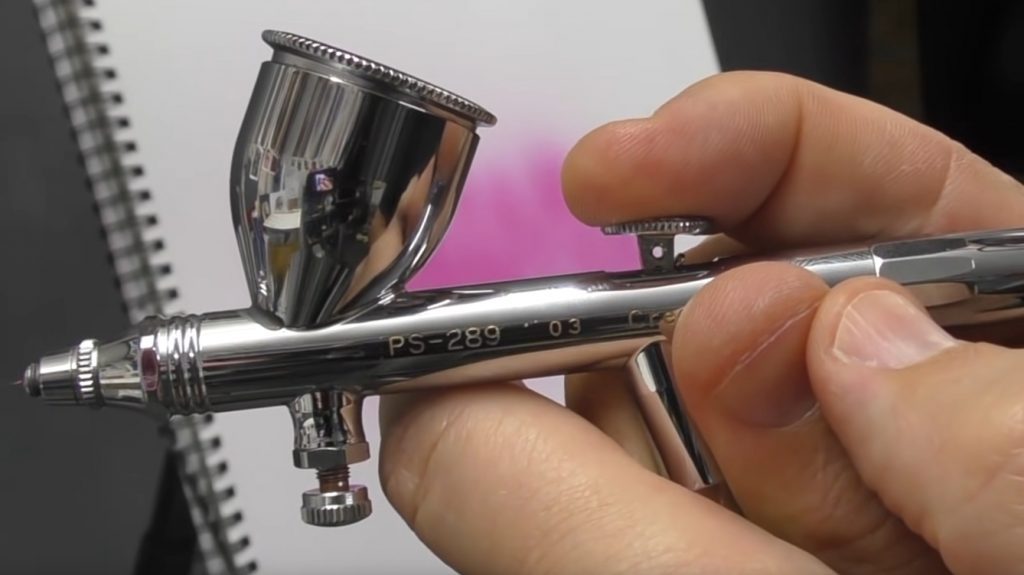
Have you chosen the airbrush type you want? That’s good. But how do you hold it? You’re off to a good start if you’ve ever held a pen or pencil. Rest the airbrush in your hand, with your index finger resting gently on the trigger. Note – your finger position will change depending on your brush type. To avoid the brush being pulled from your hand, wrap the air hose around your wrist before you begin.
- How to hold a single-action airbrush: Put your index finger’s second joint on the trigger, and use your fingertip to control how much ammo is released.
- How to hold a dual-action airbrush: To control the supply, rest the first joint of your index finger on the trigger and press and pull back all at once.
How to paint with an airbrush
The process of airbrushing can be a perplexing and intricate art form, with many factors to consider in order to achieve a flawless and dazzling result. Three different types of paint are at your disposal: acrylic, enamel, and lacquer. However, before you embark on your project, it’s crucial to carefully consider which type of paint is the optimal choice for your specific endeavor.
Once you’ve made your selection, the next step is to prepare the paint. Vigorously shake the container to ensure that the pigment and solvent are thoroughly mixed. To ensure that the paint has achieved an optimal consistency, use a toothpick or other sharp object to stir the contents. After another round of shaking, it’s time to add thinner to the mixture, but be cautious and add it gradually to avoid creating a murky mess. A ratio of 1 part paint to 3 parts thinner is an excellent starting point.
When practicing your airbrushing skills, it’s critical to strive for a seamless and uniform coat while also paying attention to the length and style of your lines. Keeping a steady hand is crucial, so take the time to practice applying the paint in a smooth and fluid manner.
If you’re applying a base coat or painting your model in a general way, it’s recommended to use 15-20 psi and hold the spray can approximately 10-18 cm (4-7 inches) from the surface. If you’re too far away from the surface, the paint will prematurely dry before it has the chance to stick, resulting in an imperfect finish. Conversely, if you’re too close to the surface, the paint may become unmanageably runny. To avoid disappointment, practice on scraps before taking the plunge and airbrushing the actual project.
Achieving a polished and sleek result will require a great deal of practice, patience, and determination. But with consistent effort and diligent use of these model airbrushing techniques, the journey to becoming a masterful airbrush artist will be well worth the effort in the end.
Reservoirs for spray guns and airbrushes
There are different types of reservoirs for holding paint. These include glass jars that plug into the brush from below or cups that are fixed or interchangeable. This is a great advantage because once you have sprayed one color, you can easily replace the reservoir with one containing thinner so you can clean the brush and then put a new color in it. Colors can also be stored in jar reservoirs with screwtops.
How to clean an airbrush
You need to keep your airbrush clean to do great work. This means cleaning it right after you use it. Use a rag or tissue paper to wipe out the reservoir. Then fill it up with thinner and blow the thinner through the airbrush until there are no visible paint particles. Hold a rag over the paint needle to force the air back into the reservoir, and let it bubble back to clean all passages.
Don’t stand the needle on its point because it will bend.
After using your airbrush for a while, take it apart, soak the needle and head in thinner overnight. If you do not, the paint will harden, making it difficult to clean the airbrush. Avoid standing the needle on its point, as this can cause it to bend.
Repairing a bent needle: Hold the needle against a flat surface so the point sticks out. Use your fingernail to move the needle around while it is still on the surface.
FAQs
What are the different types of airbrushes?
There are three types of airbrushes: siphon feed, gravity feed and side feed. The most popular type is the siphon-feed airbrush because it doesn’t require a lot of skill to use and is great for larger projects. Gravity-feed airbrushes are good for fine details, while side-feed airbrushes are perfect for working in tight spaces.
What are the different types of paint for an airbrush?
There are four types of paint for an airbrush: water-based acrylics, solvent-based acrylics, enamels and urethanes. Water-based paints are the most popular type because they are easy to use and clean up. They are also less toxic than other types of paint.
How do you thin down paint for an airbrush?
To thin down paint for an airbrush, mix it with an appropriate thinner according to the manufacturer’s instructions. Some common thinners include water, isopropyl alcohol (rubbing alcohol), and acetone.
How do you adjust the spray pattern on an airbrush?
There are a few ways to adjust the spray pattern on an airbrush. One is to adjust the distance between the airbrush and the object being sprayed. Another is to adjust the size of the opening at the tip of the airbrush. Finally, some airbrushes have a dial that allows you to adjust the width of the spray pattern.
How do you airbrush scale models?
There are a few ways to airbrush scale models. One way is to use an airbrush compressor. Another way is to use an airbrush gun and an aerosol can of paint. The last way is to use an airbrush kit, which comes with the compressor, gun and paint.
How do you airbrush plastic models?
To airbrush a plastic model, you will need an airbrush, paint, and a way to hold the model. First, make sure the surface of the model is clean and dry. Then, decide what color you want to paint it and shake the can of paint well. Next, put on the safety mask and plug in the airbrush. Turn on the compressor and set it to low or medium pressure. Holding the airbrush about 6-8 inches away from the model, start spraying in long sweeping motions. Move up and down and side to side until the entire surface is covered. Let the paint dry completely before adding another coat.
How do I make my airbrushes sharper?
To sharpen your airbrush, you will need to take it apart and use a honing stone to sharpen the blades. Be very careful when doing this as you can easily damage the airbrush if you are not careful.
What PSI should I use for airbrushing?
There is no one definitive answer to this question. PSI can vary depending on the type of airbrush, the desired effect and the paint being used. In general, a lower PSI will produce a finer mist while a higher PSI will create a thicker, more opaque layer of paint. Experiment until you find the settings that give you the results you want.