Do you struggle with finding a proper place to store or transport your precious miniature figurines? It’s a common predicament that many hobbyists face, as piles of boxes or furniture often result in dust accumulation and paint damage. Not to mention, purchasing specialized cases from companies like Games Workshop can be cost-prohibitive. But fear not, for this guide will demonstrate how to construct a secure and cost-effective storage solution using simple and readily available materials.
Requirements for materials and tools
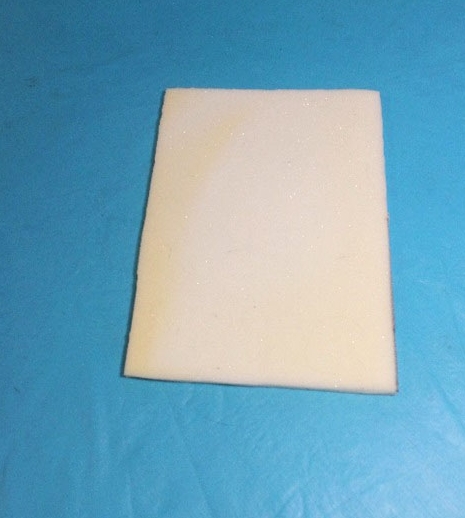
High-density foam (usually used to upholster sofas and furniture in general, is also used to make mattresses. It is the same used by GW in their suitcases). I recommend a thin one, 1 cm thick.
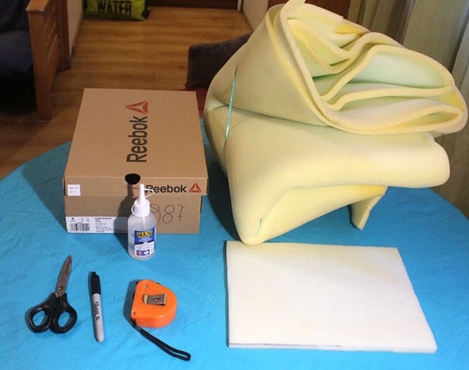
Materials and Tools Needed:
- High-density foam (used in upholstery and mattresses, similar to the foam used by Games Workshop) with a thickness of 1 cm.
- A shoebox or tennis shoe box
- Tape measure
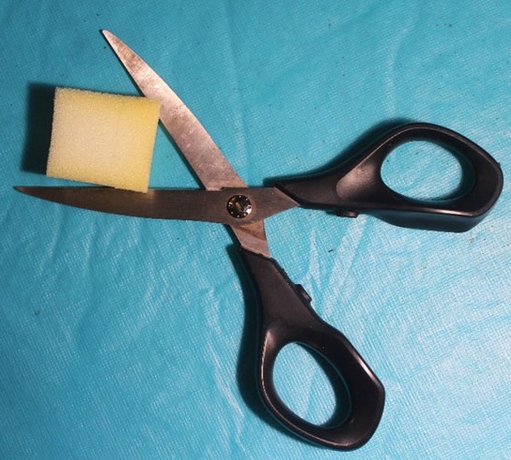
- Scissors
- Glue (liquid silicone is recommended, but white glue is also acceptable)
- Marker (optional, for personalization)
- Paint (optional, for personalization)
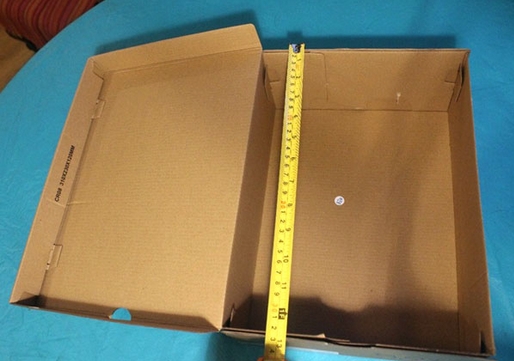
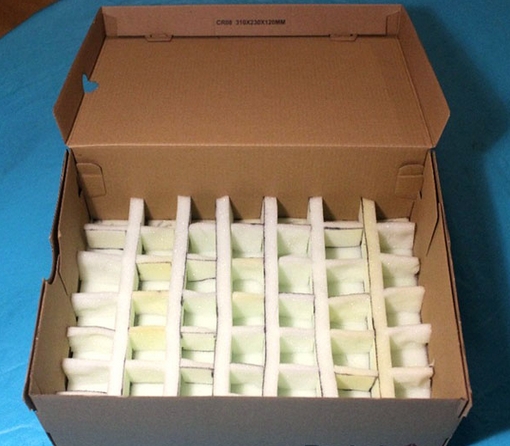
Step 1: Creating the Base
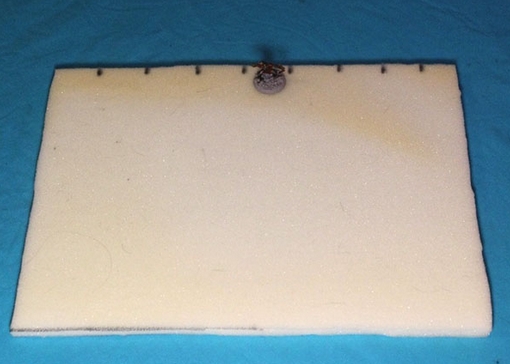
Measure the width and length of your shoebox, then transfer these measurements to the foam and cut a piece that will fit snugly at the bottom of the box.
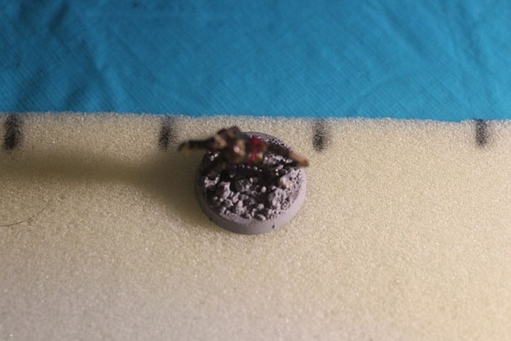
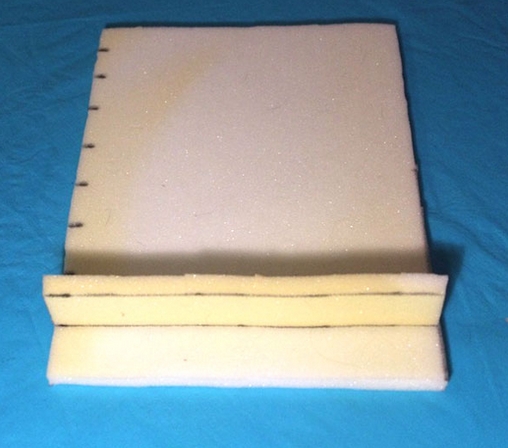
Step 2: Measuring the “Columns”
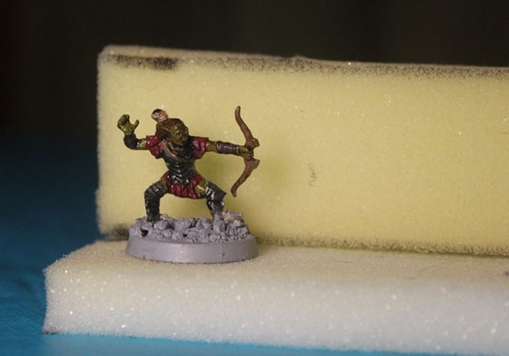
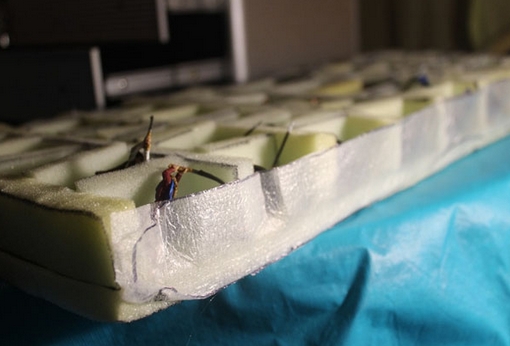
To determine the compartment size for your miniatures, take a model (in this example, an orc of Moria) and count how many representations can fit within the foam, taking into account the base of the miniature and the 1 cm thickness of the foam. Leave a space of approximately 3-4 cm between each separation. Repeat the process for different types of bases, such as cavalry or monster bases.
Once you have the number of columns determined, measure the height of the column based on the size of your miniature. For the orcs of Moria, a height of 3 cm was used. Cut the foam according to the measurements and glue the pieces in place.
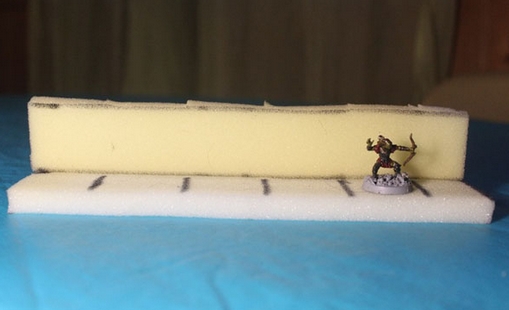
Step 3: Measuring the “Rows”
o determine the row size, measure the space between each miniature base, leaving a space of 3-4 cm. In this example, 5 divisions were made to result in 6 rows. Cut the foam pieces to the appropriate size, then glue them onto the base to form a grid. You can save material by cutting each piece of foam in half to reduce its thickness.
Step 4: Storing the Miniatures and Sealing
Once the glue has dried, place your miniatures in the compartments you created. Cut a final piece of foam to fit the top of the shoebox, serving as a protective lid.
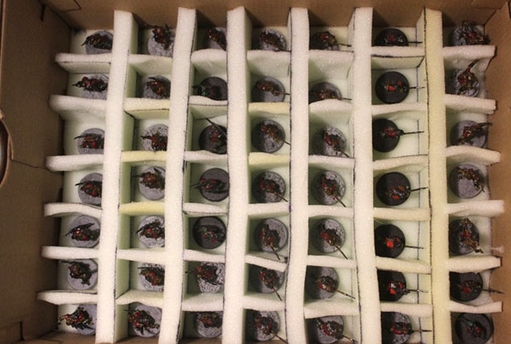

For a removable compartment, repeat the process but leave enough space above the compartments for removal. To prevent miniatures from falling out, consider adding extra protection along the edges using packaging foam or reduced-thickness foam.
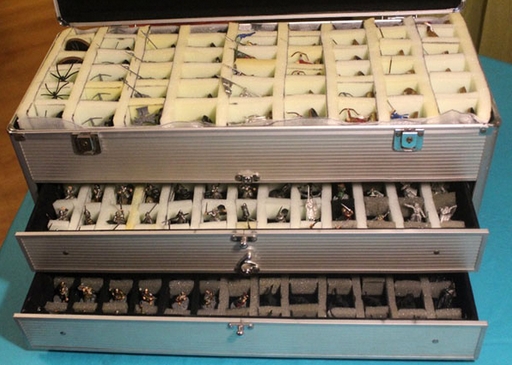
With this guide, you can now protect and preserve your miniature figurines with ease and affordability. So go ahead and give your hobby a proper home!