Greetings artists! Are you tired of waiting for your photographs to be developed at a photo lab? Well, have no fear, for we bring to you an easy-to-follow tutorial on how to make cyanotype prints right in the comfort of your own home!
What is Cyanotype?
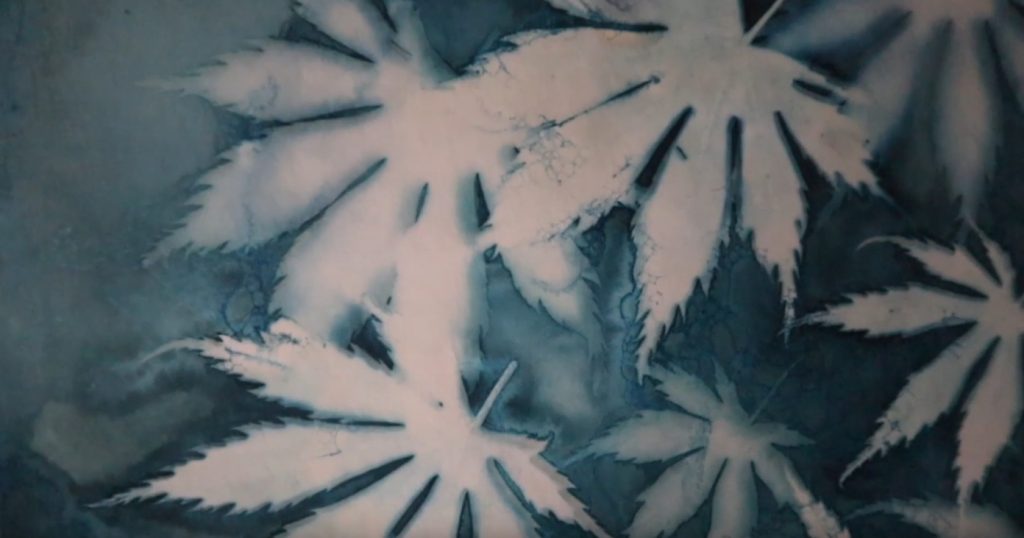
A monochrome printing technique that uses an emulsion to reveal images on any absorbent surface in various shades of blue – that’s what cyanotype is all about. This process was first discovered by John Herschel in 1842, while experimenting with photosensitive iron salts. However, it was the botanist, Anna Atkins, who first put this process to use in 1843, producing a photographic book of ferns and various plants.
How to Make Cyanotype?
Making cyanotypes is a straightforward process that involves reacting ultraviolet light to a chemical mixture. The mixture is made from ferric ammonium citrate (III) and potassium ferrocyanide, and can be found in any cyanotype kit. When exposed to ultraviolet light, the solution transforms into a shade of blue known as Prussian blue. Here’s how to make your own cyanotype prints:
- Mixing the Chemicals
To make the cyanotype, two separate solutions must be prepared and then combined. The first solution is made by diluting 25 g of ferric ammoniacal citrate in 100 ml of distilled water. The second solution is made by diluting 10 g of potassium ferrocyanide in 100 ml of distilled water. Once you have the two solutions in separate opaque containers, mix equal parts of each solution (5 ml, for example) in an opaque bottle and shake well. - Sensitizing the Paper
Apply the mixture to the paper, taking care to avoid direct sunlight. Let the mixture sit for a few minutes and then spread it evenly using a roller or brush (without metal parts). After applying the mixture, let the paper dry in a well-ventilated area away from sunlight. - Exposure
Place the object or negative you want to capture on the paper and cover it with a glass to prevent movement. Seal the edges of the glass to the paper, and place the images in the sun for 20 to 30 minutes. The images will be correctly exposed when the emulsion has changed to gray or silver. - Washing or Developing
Once the negative has been correctly transferred to the paper and has acquired the necessary tone, the paper must be washed in cold water. Wash the paper in three different tanks for five minutes each, and then let it dry in a place where it does not receive direct light.
This technique is so simple and versatile that it allows for endless variations and experimentation with light, emulsions, and exposures! We hope this tutorial inspires you to create your own beautiful cyanotype prints.