What is an Airbrush?
In the realm of design, the airbrush stands tall as a formidable tool, particularly in the realm of industrial design. Its unparalleled ability to produce a glossy, realistic, and lacquered finish has made it a sought-after tool among artists and designers alike. In the 1970s, the airbrush gained popularity in North America as a tool for radical realism, which is closely tied to hyperrealism and photographic realism.
The hyperrealist artist, Don Eddy, has left an indelible mark on the art world through his masterful use of the airbrush. His works, such as the airbrush drawing showcased below, are a testament to the tool’s versatility and precision.
As we take a closer look at this car body painted on canvas, it’s impossible not to acknowledge the growing number of artists who use airbrushes to paint car bodies, vehicle covers, and furniture. The materials used in such works are similar to those used in this tutorial, but the process of surface preparation is crucial and requires the use of specific fixatives to achieve the desired finish.
As evidenced in the image below, the art of tuning continues to evolve and reach new heights, with works like this one exhibiting an undeniable artistic value.
How to Use an Airbrush?
Before diving in, it’s imperative to take the necessary precautions, as airbrush paint can be dispersed in any direction and can be challenging to remove once it dries. To avoid any mishaps, make sure to secure your working space and attire.
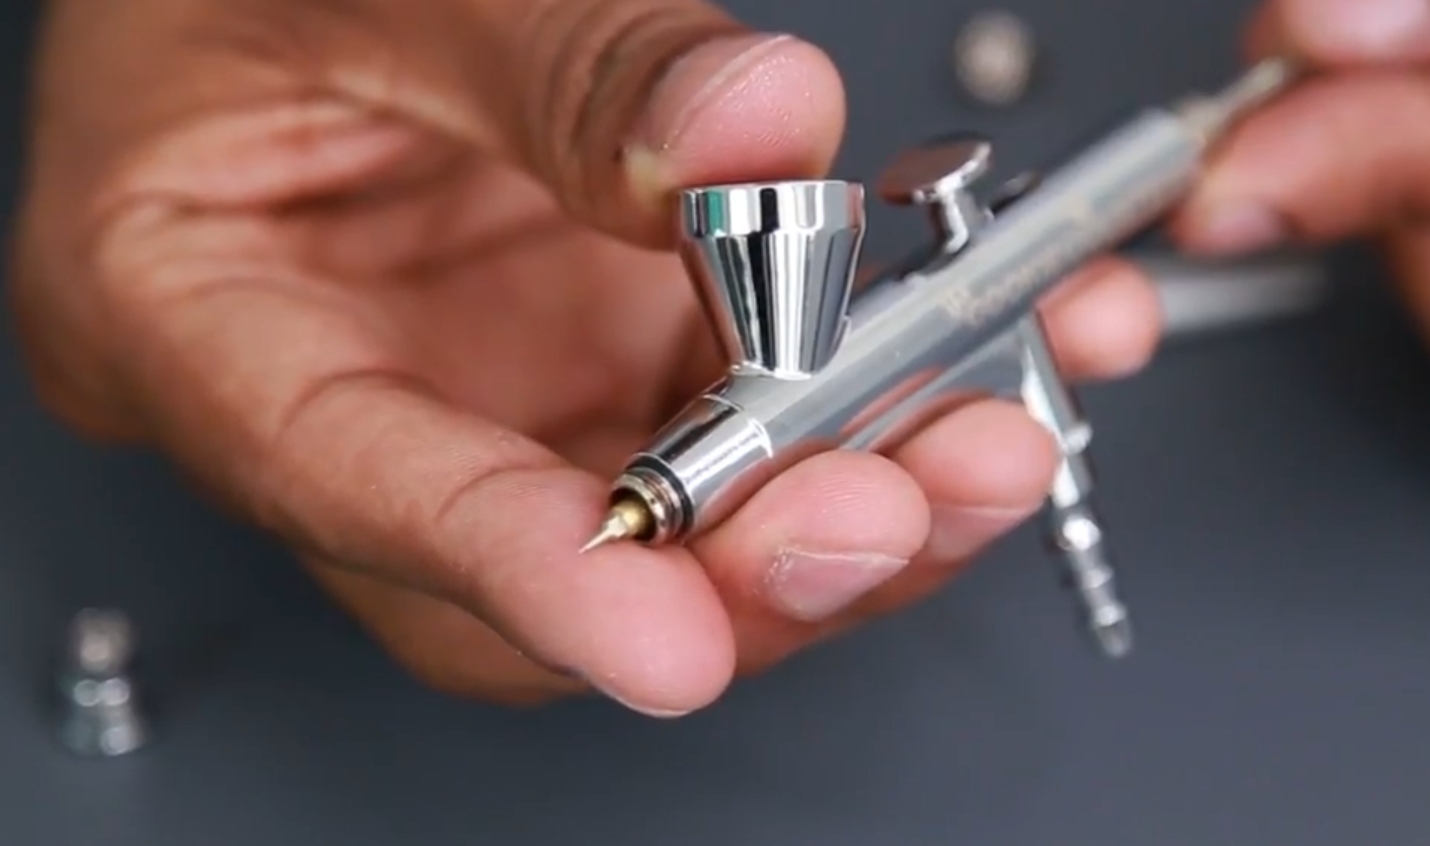
Essential Tools for Airbrushing
- A surface to paint on, such as laminated cardboard or watercolor paper
- Masking fluid
- Cutting tool, such as a knife or cutter
- Airbrush paint (acrylic, watercolor, or acrylic ink) with varying levels of opacity and transparency
- Stencils, either ready-made or custom-made with watercolor paper or gray cardboard
- An airbrush and a source of compressed air, whether it’s a gas or a compressor
Instructions
- Start by visualizing the desired tones and shapes for each section of your project. Sketch it out on paper to help you better understand the composition.
- Cut out the necessary templates, paying close attention to intersections, to ensure accuracy.
- Determine the order in which each section will be painted and write it down, as it’s easy to forget the sequence, especially if the project is not completed in one day.
- Use the masking fluid to safeguard adjacent sections and use the cutting tool to achieve clean lines.
- Start airbrushing the chosen paint and repeat the steps for each section.
- To create reflections, use the airbrush as a glaze.
By keeping in mind these steps and using the right tools, you’ll be able to create stunning works of art with an airbrush.
Tips for Using Airbrushes
Here are a few tips to get you started:
Perfecting Your Technique
Before diving into a new project, it’s crucial to hone your skills by rehearsing the three key variables: speed, distance, and air flow control. Here are a few ways to do so:
- Experiment with parallel lines, varying the color, air output, speed, and distance from the support. This will help you understand the interplay between these elements and refine your technique.
- Practice creating tonal variations by mimicking recognizable objects, such as geometric shapes or spherical objects. Gradually degrade the color to imitate the tonal changes in each edge, which will help you develop a keen eye for detail.
Maintaining Cleanliness and Hygiene
Airbrushing requires a high level of cleanliness and hygiene to ensure that your instruments perform at their best. Most problems that arise with airbrushes are due to inadequate cleaning, so it’s essential to clean your airbrush thoroughly after each use, especially if you’re using acrylic paint. The best way to do this is with purified or distilled water, as normal water can leave deposits of lime or salts in the interior. Avoid using hydrochloric solutions or solvents, as these can alter the tone of your next painting.
Protecting Your Work Environment
Airbrushing can be messy, especially when you’re just starting out. To prevent stains and spills, it’s recommended that you wear gloves and an apron, and protect the areas you don’t want to paint. By taking these simple precautions, you can enjoy the freedom to express yourself with your airbrush without worrying about the consequences.
What Paint to Use for Airbrush Painting?
As you delve further into the world of airbrush painting, it’s important to consider the paints you will be using to bring your vision to life. Despite common misconceptions, there is an extensive variety of paints that are ideal for airbrushing. Our advice for those just starting out in this medium is to use water-based paints, as they are easier to clean and handle. Let’s take a closer look at some of the top options available:
- Amsterdam Acrylic Ink: This water-based paint boasts highly pigmented colors and exceptional lightfastness. It can be used on its own or blended with other hues to create unique shades. Another advantage of Amsterdam Acrylic Ink is that the brand uses a consistent color range across all their products, allowing for seamless mixing with other mediums such as acrylics or markers.
- Vallejo Premium Acrylic: Another highly recommended range for airbrush painting is Vallejo Premium Acrylic. This non-toxic, water-based paint is versatile and suitable for use on a wide range of surfaces, including metals, polyethylene, fiberglass, Lexan polycarbonate, slot, and radio control bodies.
- Vallejo Liquid Watercolors: If you’re searching for vibrant and intense hues, Vallejo Liquid Watercolors are the perfect choice. Unlike other options, these watercolors are completely transparent and stand out for their brilliance and saturation. Diluted in water, they mix seamlessly with one another without sacrificing quality. Additionally, they contain no additives that might clog your airbrush valve, making them ideal for airbrushing.